A warm welcome to the customer database user guide. This guide will show you how to add new customers and update details for your existing customers.
1/ Adding Customer Contact Details
Login to http://cloudapp.objitec.com/ using your user name and password and select customers.
Press “+ New” in the top toolbar to open the create new customer form.
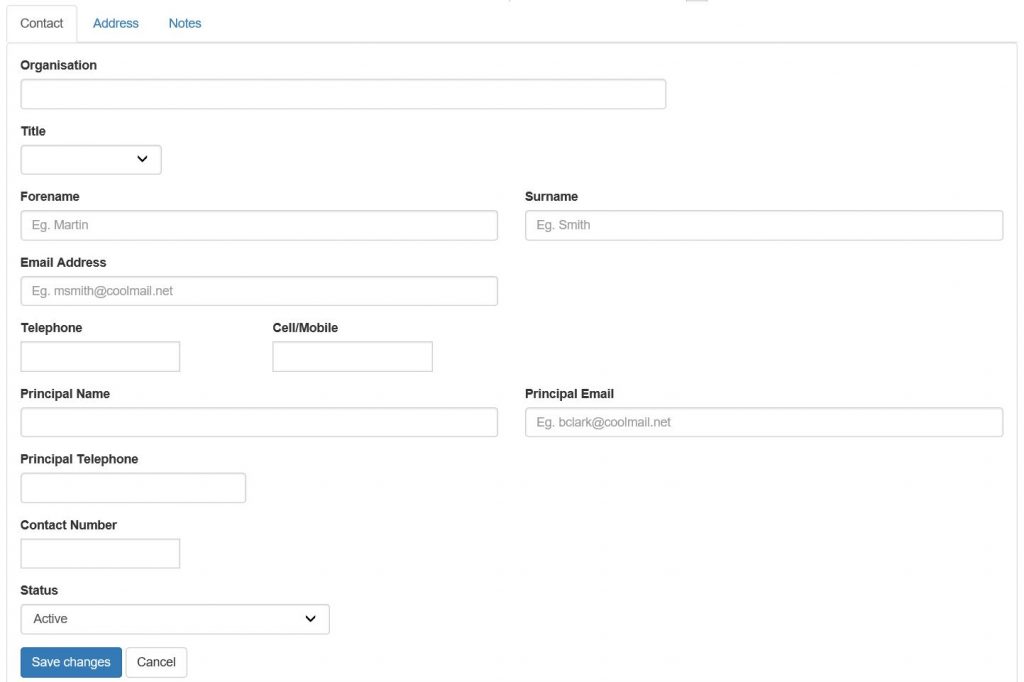
The customer account properties form (above) opens to enable you to start entering your customers details. At a minimum you need to enter the customers organisation and a forename and surname of your contact within that organisation. These three fields are mandatory. So you will not be able to save your customer details without these three fields completed.
Add as much information as you have about your customer. Principal name is for you to enter the details of the legal owner or one of the legal owners of the business. This is the contact that you would use in case of any legal dispute.
If you store customer numbers then enter it in the contact number field. If numeric numbers are entered then the next time you create a customer you will see an option above the field to (Allocate next number)
As you’d expect this does exactly as it says and automatically enters the next available customer number.
The last field on this tab of the form is Status. Here you can set the status of the customer to be active or inactive. Customers don’t get removed from the database however they can be made inactive and then you can opt to view either active or inactive customers on the main customer list page.
2/ Adding Customer Address Details
The next tab on the customer account properties form is the address tab shown below…
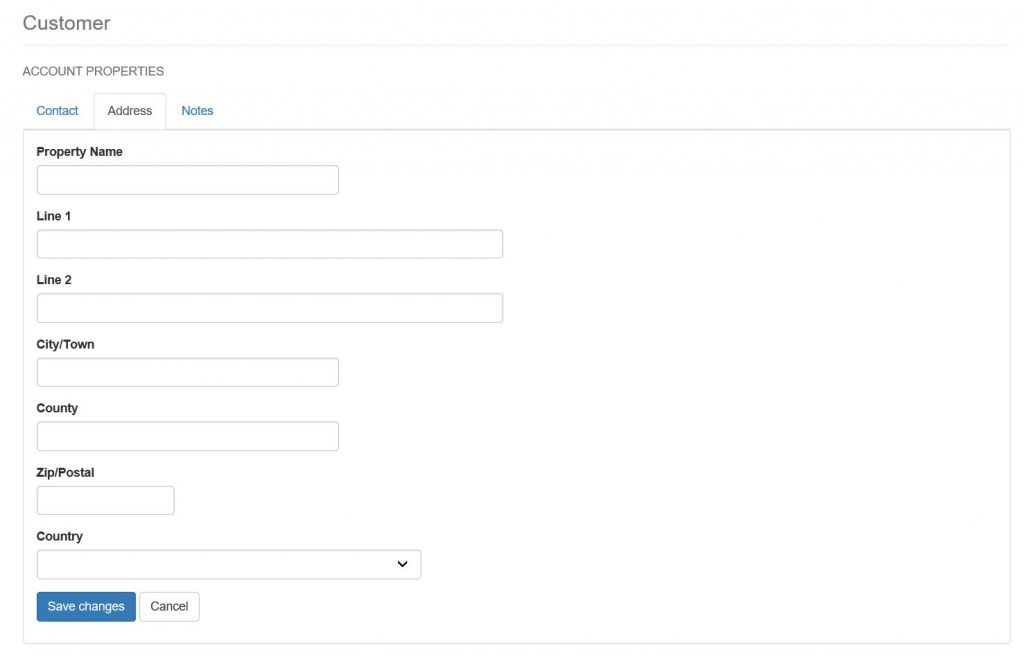
Address details are pretty self explanatory, so go ahead and enter any address details that you have for your customer.
3/ Adding Customer Notes
The final tab on the customer account properties form is the Notes tab. Here you can enter anything important that you’d like to remember about your customer. Maybe something that will assist you with future sales!
The notes tab is shown below…
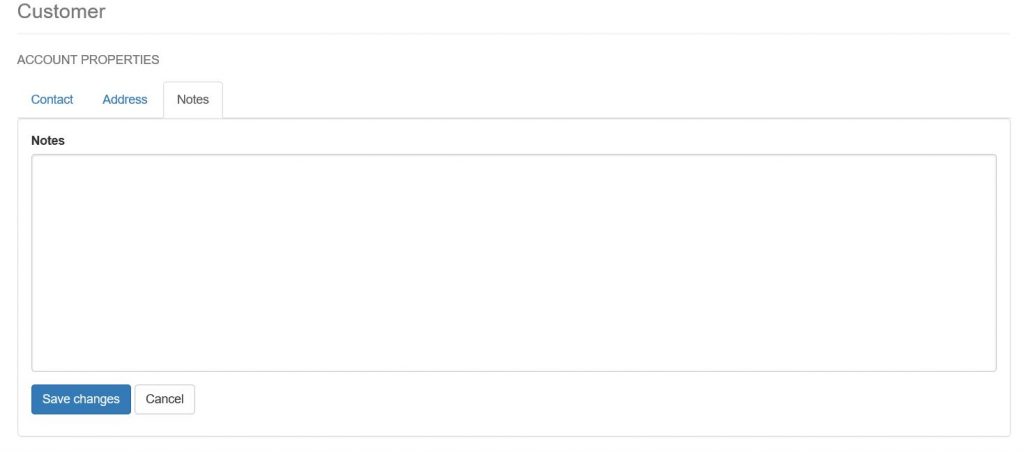
When you’re happy that you have entered all of your customers details. Press the blue Save changes button on the bottom left of the form.
4/ Customer List
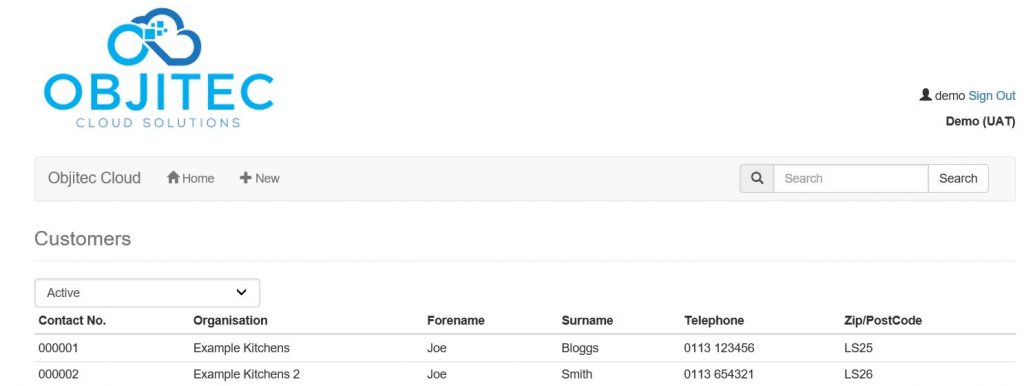
You will be returned to a screen that displays a list of your customers. The drop down on the top left enables you to filter on active or inactive customers.
Customer list…
